It's that time of year again! When I was a kid, this was the time of year when we opened up the large steamer trunk to an explosion of costumes! I have always had a thing for costumes. Now that I'm older, though, I don't have a steamer trunk...I have a whole room! With the kids leaving the nest one by one, I commandeered one of the bedrooms recently and turned it into my very own costume room. I love it!
Now this year, I could have just went to the room and picked a costume to wear to our annual church Harvest Carnival, and even though we decided on a pirate theme and had enough pirate attire, I just felt the desire to update it a bit.
I really wanted a leather corset to wear, and since I had recently picked up two leather coats for $1 each, I knew that it was going to be on my list of things to do.
The main coat was black, had big poofy sleeves, and two-toned leather inserts. The other one (not pictured) was a men's bomber style jacket and was only going to be used for trim.
I thought about ordering a pattern from
Harlots and Angels, but since I was repurposing I thought it might be hard to follow the pattern with everything that was already going on with the coat. I did use one of their corsets for inspiration, though.
If you're not repurposing, I highly recommend buying a pattern...they have some really awesome designs!
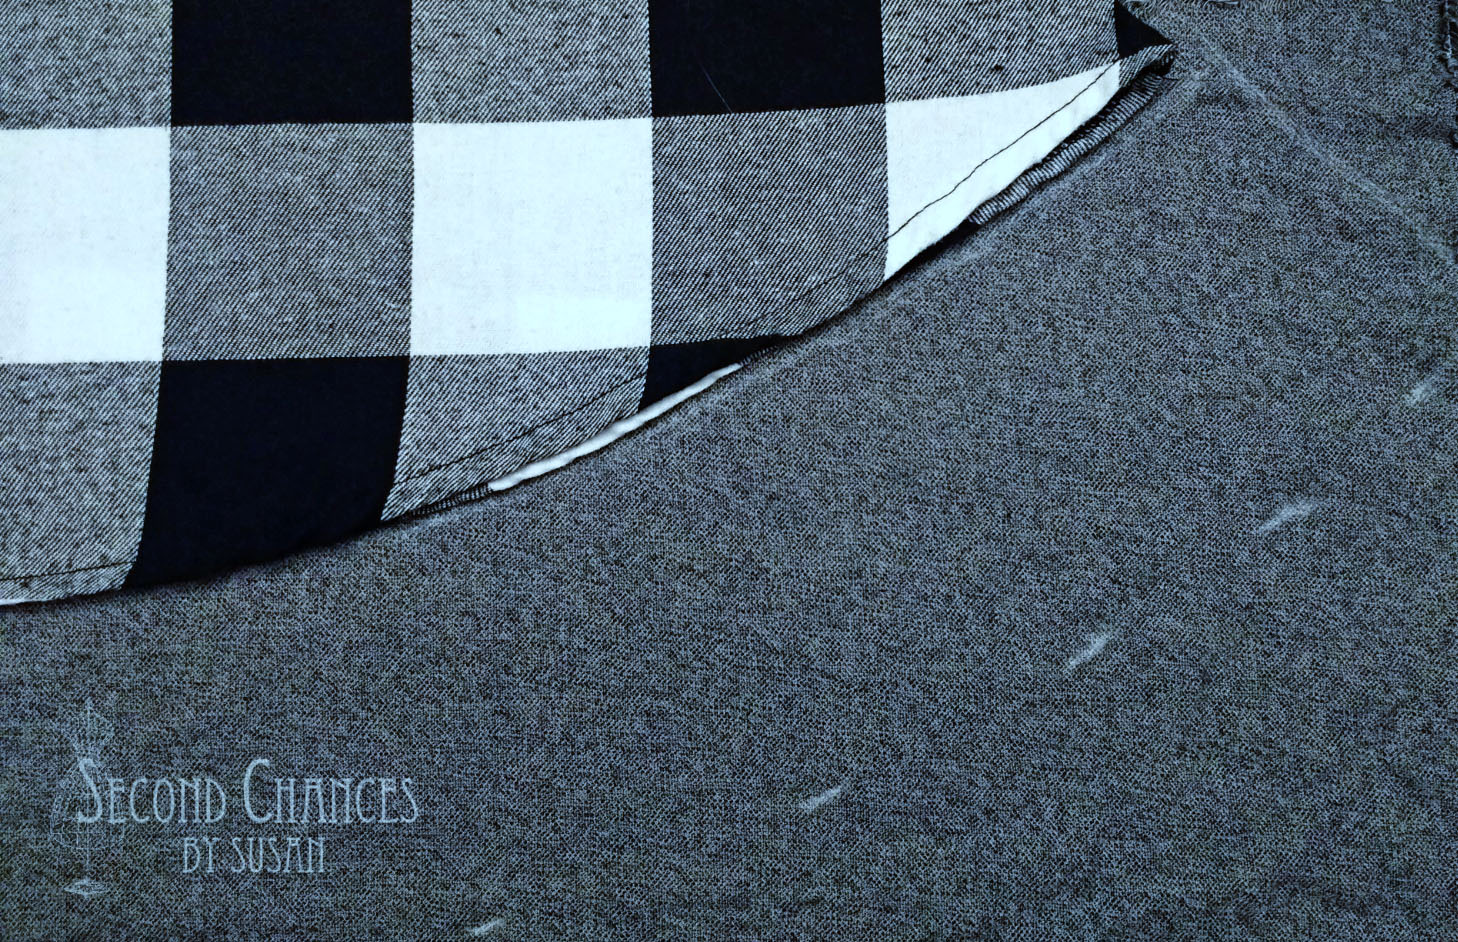
I figured that since the shoulders already had some curve to them, they would make a good start to the bodice. So, after opening all the seams to make the coat lay relatively flat, and taking measurements to get the right size and shape, I made the cut from each sleeve.
This became the front of my corset. The back of the corset was cut from the back of the coat. From there, it was a matter of placing it on my dress form and working with it to get the right fit. I wish I had more process photos, but this was a trial and error kind of project. It took some time, but I'm very happy with the results!